1. Create a project
From the organization workspace, create a Binder design project. Give it a name that identifies the biological objective.2. Complete target setup
Add a target using the sequence or structure input offered by the project. Check target identity, chains, copies, and residue numbering. Review the structure and complete each setup step before saving the target. See Create a protein design target.3. Choose binder inputs
Use a supported Boltz specification or prepare a custom binder specification. Review fixed and designable regions for a custom specification.4. Create an experiment
Create an experiment with a descriptive name. Add a hypothesis that explains the intended interface and biological effect.5. Configure and start design
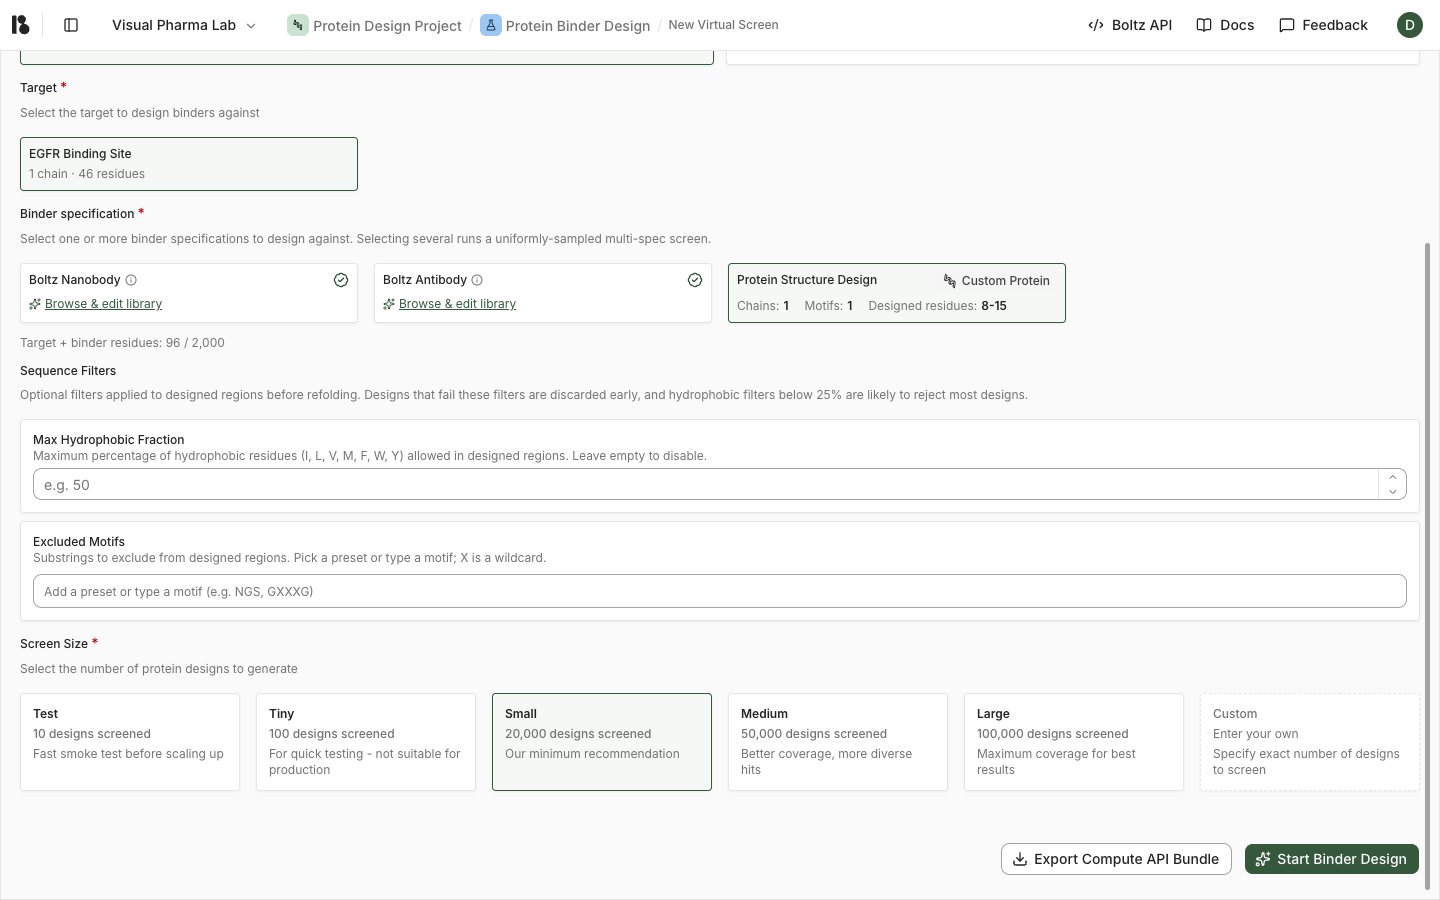
Open a new design screen. Select the target and binder specifications, then configure the run settings offered by the form. Review any cost information and submit when ready.